If you're new to UV Mapping, start here for some general and RizomUV-specific tips! We'll ease in with some generic unwrapping considerations before showing you some tips and tricks that will have you up and running like a pro in no time!
- Do the work, including prep
This includes ensuring your geometry is clean. This means no ngons, loose cuts, polys or verts. Not only will the latter add to your render overhead in a game engine, they are also time sinks in terms of wild goose chases trying to find where they belong. Also make your selection and texturing life easier by creating mesh, material and/or smoothing groups. Once exported these will help you stay organised from UV to bake to final render
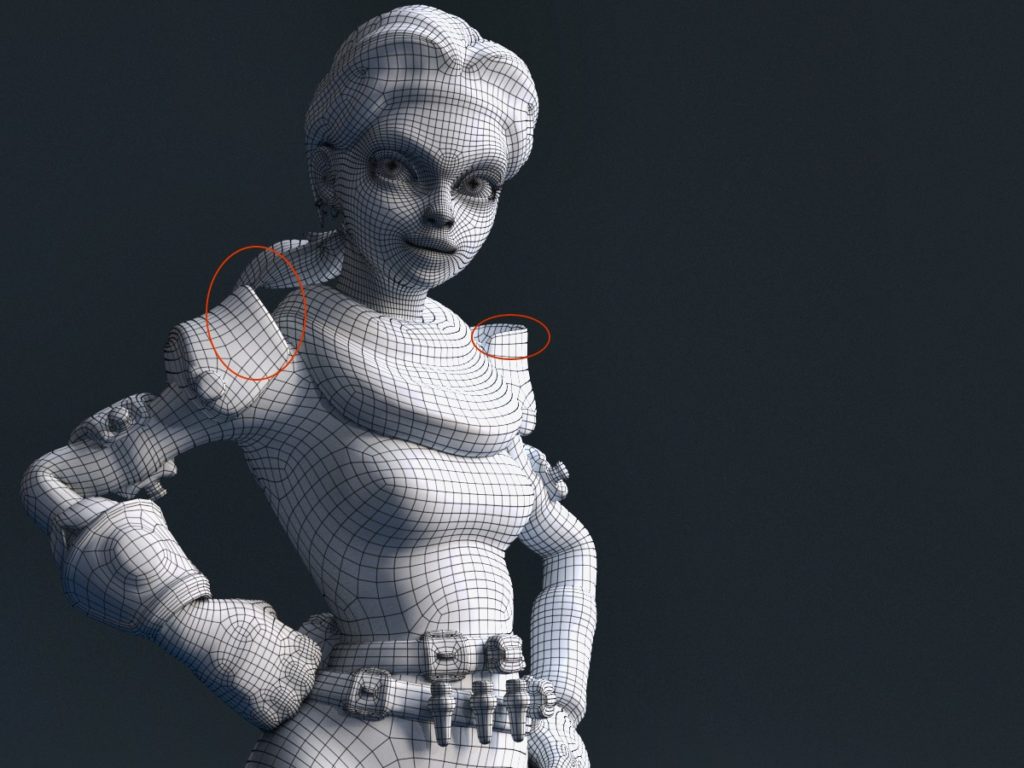
- Some Hard Edged Advice
If you are doing hard edge models, remember to add supporting geometry around edges, as texture tends to spread around edges – the extra geometry will prevent that, and also save you the calculation cost of atriplanar. If you're creating a game model, don't forget to keep an eye on your cuts as well, as every cut means a doubled vertice count or that part in-engine
- Keep your mind
in...on the gutterA good UV map also has an edge-margin and shell-padding, especially for game engines. When a game engine renders a texture sheet on a model, it will downsample (reduce) the texture to render it. This can cause different colours around your island seams if the colours of the textured shell and the background are different. This is called colour-bleed. To avoid this, you add padding to the UV shells when unwrapping to enable whoever is texturing the model to add a "padded" edge with the same colours when texturing to avoid this from happening. You can calculate how much edge padding your islands need by multiplying by 2:
- 256 = 2px
- 512 = 4px
- 1024 = 8px
- 2048 = 16px
- 4096 = 32 px
- 8192 = 64 px
For non-game engine renderers, a few pixels are often enough to avoid texture-bleed and normal mapping artefacts when baking, and almost all UV mappers have functionality for this. Use it.
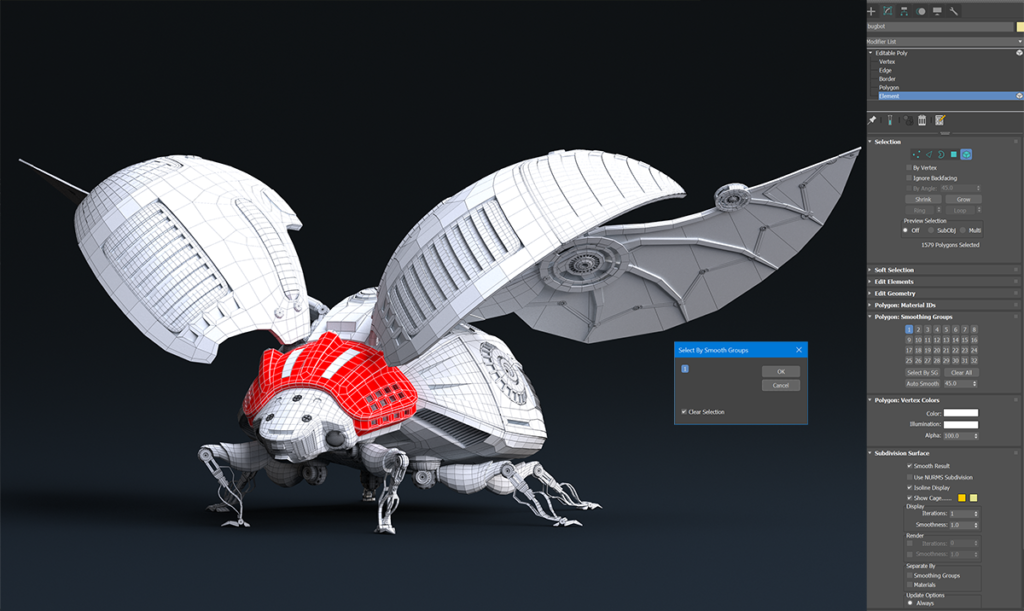
- Use Smoothing Groups
A smoothing group’s function is to make your model appear smoother without adding polys to the mesh. You could say it’s a sort of pseudo subdivision surface where, if two polygons or more share an edge and are members of the same smoothing group, they will render as a smooth surface. If not, a hard edge is created. This will render as a corner or an edge, and this edge will need to be separated come UV mapping time to avoid baking artefacts. Which again calls for you to do the work, as tidying your mesh as you go can yield baking, timesaving and UV mapping benefits, as it'll steer you clear of tasks like leftover poly-cleanup on edges, too many deleted poly-fixes, and tidying unclean edges.
- Easy on the stacks and flips
Especially if you’re unwrapping for use outside a game-engine, be cautious with flipping islands and stacking them, especially if you’re mapping on a single UV tile rather than a set of UDIMs. Even though stacked and flipped UVs can boost your unwrapping speed and save you UV mapping time, the speed can come at a price: With these, you also run the risk of weird lighting artefacts, lighting seams and normal issues when doing this. If you have to stack and flip, make sure to use an FBX export with tangents and binormals checked. Also see if UDIMS are a way to go for you, especially now that even UnReal supports them (which means the other game engines won’t be far behind).
New to Rizom? Here are five more tips!
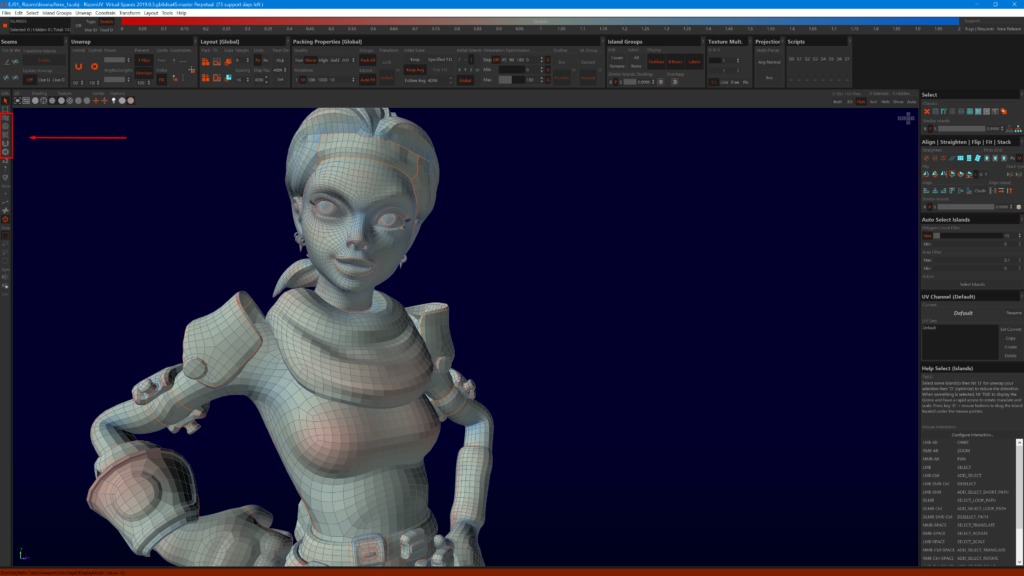
- Explore the Magic Wand!
Cirstyn on the Rizom-Lab team often speaks about the Magic Wand in Polygon Select Mode (F3) being Rizom’s unsung hero. And here is why:
Even though the autoseam algorithms are very powerful, you sometimes still need to cut by hand for the best unwraps, or to have your unwraps in specific shapes. The magic Wand, found in the settings menu on the right (or left, depending on your settings, helps you with that. Simply place your mouse pointer over the area you need to select. Adjust the sliders in the menu until the white selection covers the shape you want to select and cut. Click. The election will turn blue. Press C and your selection will be cut and ready to be unwrapped. Also try running an optimise rather than an unwrap on your new cut shape, as its gentler on the shape you want to keep
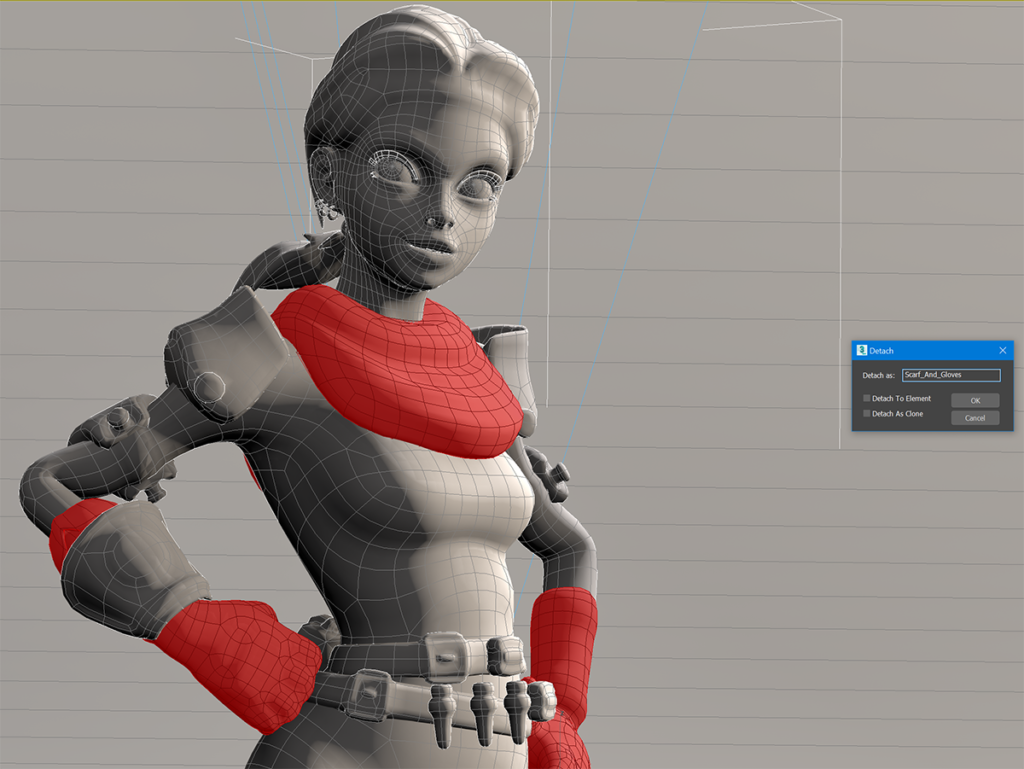
- Use autoseams per mesh group, not per mesh
One thing to remember when you use autoseams when in Edge Selection Mode (F2), is that they are algorithms. And that they will cut and unwrap everything you throw at them, regardless of size or complexity. This means that if you have a complex mesh, it may be a good idea use your models material or other groups to cut them one by one for even better results, as the algorithm will only unwrap what it sees. You can select your model groups in the Select Menu in the toolbar, or the Select icon bar in the Settings bar. Remember to isolate your groups by pressing I to isolate, and remember to explore the various algorithms and their options!
- Explore our AutoScript
A few months ago we created a script that cuts, unwraps and packs your mesh based on a single manual cut. It was created due to the fact that sometimes we actually do need to create manual cuts, for various reasons. And because we have a scripting function, we were able to automate this, saving you even more unwrapping time!
* You can grab the script here
* Watch the tutorial here or below
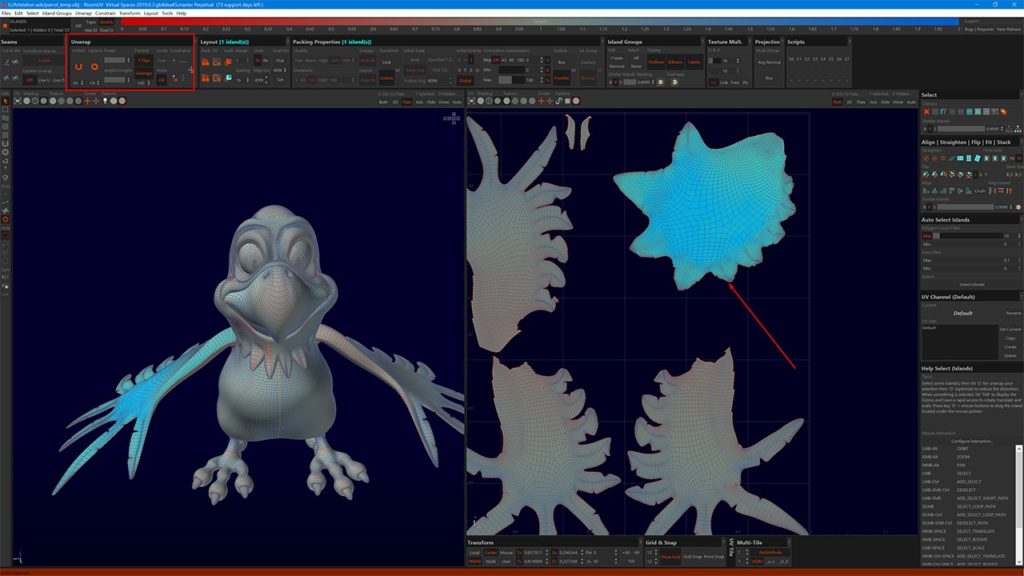
- Easy on the numbers!
We all like to crank our settings (and numbers) up to the max. However, be careful when you do that in RizomUV, as numbers in many cases can mean iterations. So when you i.e set your Overlap to a 100 for the best possible overlap avoidance, beware it will add a significant amoutn of time to your unwraps. It can also make your mesh look like a balloon! Start working from small numbers like 0.1 instead, and work your way up to higher numbers like 10
- Use The Brushes!
Did you know RizomUV also has brushes? They are super handy when you want to tweak your UVs to perfection:
* Use the Spread brush (F11) to spread red areas. This will spread them, giving your UVs more room
* Use the Pinch Brush (CTRL+11) on blue areas. This will lessen the room they have, getting rid of spread
* Use the UV brush for custom * UV (F6) brushing on areas where the algorithm will only go so far
* Use the Optimise Brush (F7) to optimise your unwrap even more
-And remember that you can switch pressure, radius and algorithm in the brush settings dialog!